
Only a Site manager can add or remove a user.
An important part of keeping your website safe and secure is regularly reviewing who has access and permission to update your website.
As your teams roles change, or when staff leave, old accounts often remain active, or permission levels are incorrect, which can lead to data breaches.
How to remove users
Log in to your website, and go to your dashboard.
Click on ‘Users’ in the left-hand dashboard menu, this will open the ‘Users’ window.
The ‘Users’ window provides you with an overview of the user accounts on your platform, including:
- the roles in use and how many of each role
- the number of users on the platform
- the username, email and role of each user on the platform
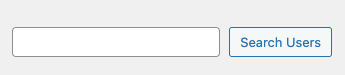
Find the user you wish to remove from the list. If you have lots of users, you can use the ‘Search Users’ function in the top right of the ‘Users’ window.
Once you’ve found the user you want to remove, hover over their name. This will display several options.
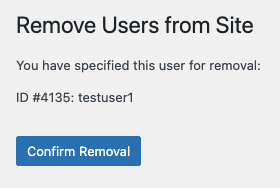
Click the ‘Remove’ option. Then click ‘Confirm Removal’ to complete this.

You will be asked to ‘Confirm Removal’, if you are happy to remove the user click to confirm the removal of that user.
The user has now been removed, this cannot be undone, and the user will have to be added following the ‘Adding a new user’ process.