Page categories allow you to group a list of pages together into a section.
The page titles in that category will be visible at the top so a user can go to pages quickly and see what’s in a section.
The list at the top of the page you’re on right now is an example of how they look.
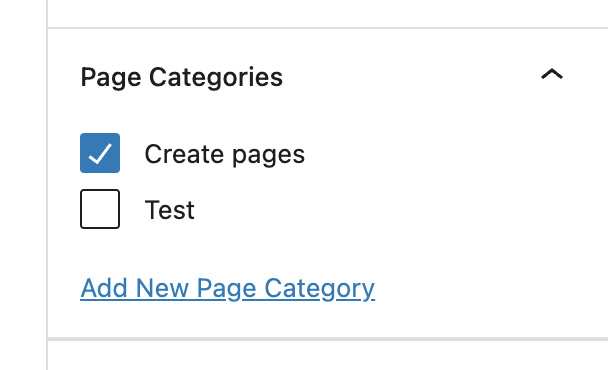
In the edit page view, in the right-hand panel, you’ll see an option for ‘Page Categories’.

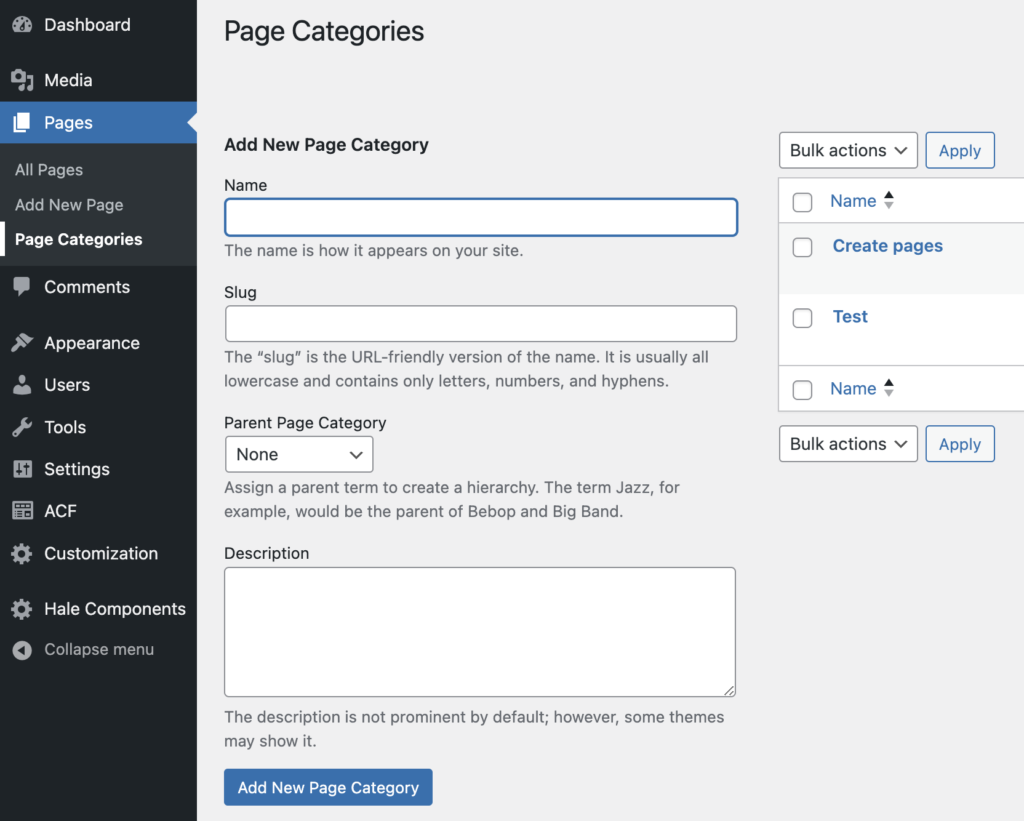
You can also add and edit page categories from your dashboard.

Creating a page category
Add a new page category. This will be the main heading on the page.
You’ll need a name that’s relevant for all the pages underneath it.
You can see the page category at the top of this page is ‘Create pages’
.

Assigning a page category
Check the box next to the category name to assign your page to the category.
Only when you’ve added at least 2 pages to a category, will your page title appear in the group at the top of the page.
Ordering pages
You can list the pages in your preferred order.
In the right-hand page settings panel when you’re in edit view, click the 3 dots at the top and select ‘Order’.

Add a number for each page assigned to that category in the sequence you want the pages to appear in the list at the top of the page.
For example, 1 will show first, 2 will show second, 3 will show third and so on.

You can also assign categories and set the order from the list of pages in your dashboard by clicking ‘Quick Edit’.
Pages in a given category will display at the top of each page in the order you’ve set.

Managing categories
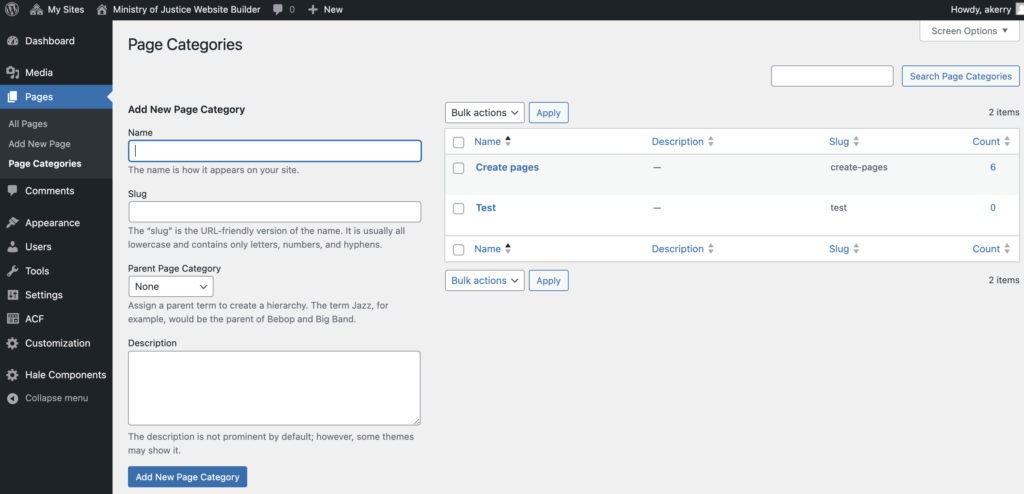
You can add new, edit and delete categories in the ‘Page Categories’ section of your dashboard.
You’ll see a list of categories already created and the number of pages assigned to each category.
