This is located at the bottom of every page. For example, what you can see at the bottom of the page you’re on now.

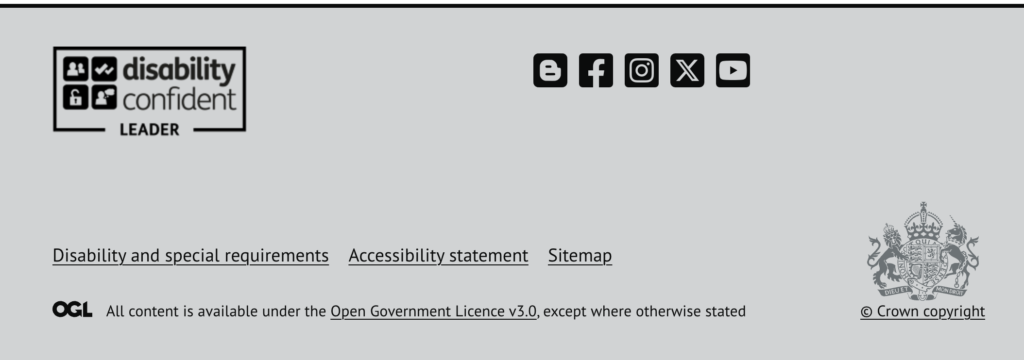
Another example of footer navigation from the Prison and Probation jobs website, which also includes an image and social media icons with links (called ‘footer widgets’):

Footer navigation usually includes things like contact details, your accessibility statement (this is a legal requirement for your website), and a privacy notice (if this applies).
Think carefully about what else to include in this area of your website.
Avoid making it cluttered or confusing. You might consider including things like social media links, a sign-up form, or help content.
Add items to the footer navigation
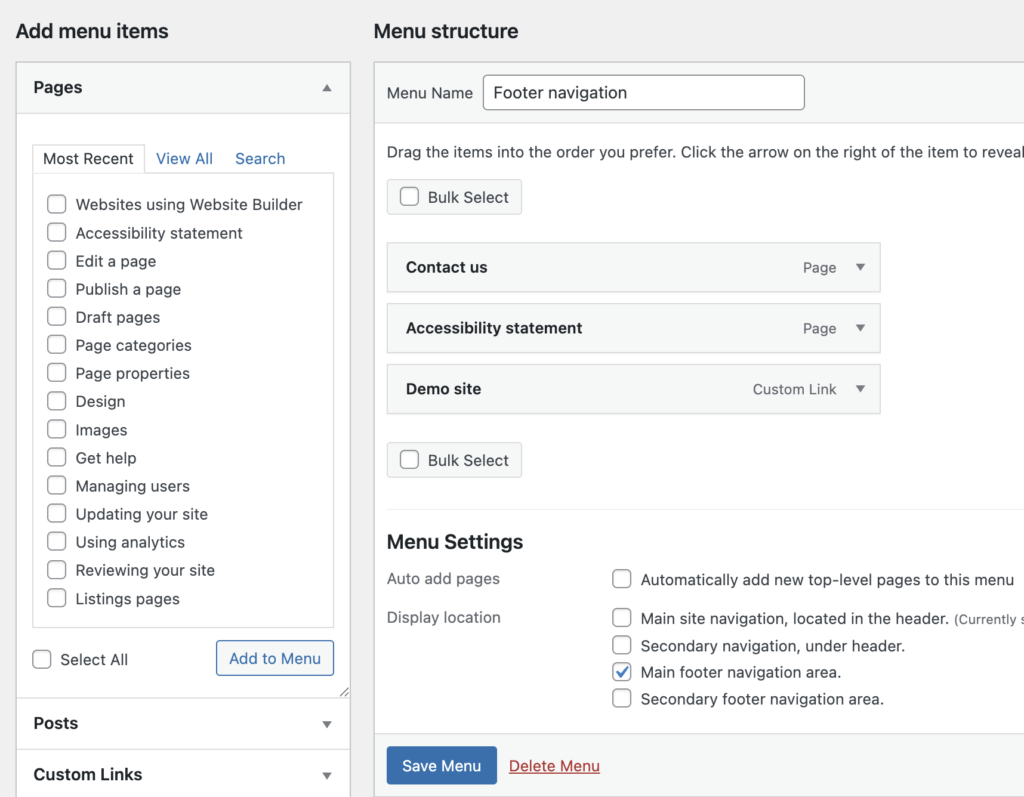
From your site dashboard, go to ‘Appearance’ and then ‘Menus’.

Click on the ‘Select a menu to edit’ drop down, pick ‘Footer navigation (Main footer navigation area.)’ from the list and click ‘Select’.

Add pages or external links to the menu in the same way as you do for the main site navigation. Footer navigation only has one level, so keep all your pages at the same level.

Remember to click ‘Save Menu’ for your changes to take effect.
Adding footer widgets
You can add additional content blocks to your footer area. This is done through ‘Widgets’.
In your dashboard, go to ‘Appearance’ and ‘Widgets’. You can then choose a footer content area to edit:
- footer area one is the left-hand side of the footer
- footer area two is the right-hand side of the footer
Both footer widget areas appear above the footer navigation menus.

To edit the footer area, use the plus (+) symbol to add content blocks as you would to build a page. Click ‘Update’ when you’ve finished. This will make the changes live on your site.
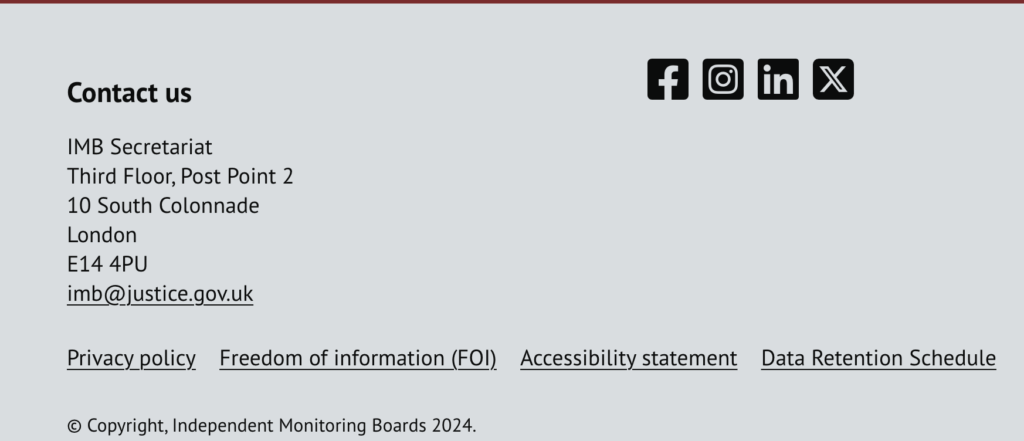
Example of using footer widgets from the Independent Monitorings Boards site:

The footer area in this example shows [heading and paragraph blocks] in footer area one (left-hand side) and [social media icon blocks] in footer area two (right-hand side). (Add links to blocks pages)